Simple Video settings for Canon 60D
Recently I drilled through the Canon 60D to provide my client with some setup Simple Video settings for Canon 60D instructions that the staff could carry with them for shooting video with this camera. It is a wonderful camera for shooting video. Here you go.

Canon 60 D SLR camera
Simple Video settings for Canon 60D
SHOOTING VIDEO
Automatic:
These Automatic notes apply to shooting photos in AUTO as well:
- You get no control over any settings like, shutter speed, white balance, f stop, ISO or focus.
- However, if you have had a margarita and don’t want to deal with settings AUTO mode will give you acceptable video quality.
- The only concern you may have is not having control over focus unless you set the lens to Manual Focus and focus the lens manually by zooming in to the subject, focusing and then zoom back out to wherever you like.
Shooting Video on AUTO
- If you have a lavaliere mic, clip it onto the subject and plug the mini jack into the mic port on the under the rubber flab on the left side of the camera. Otherwise sound will be recorded from the camera mic (not great sound quality). The lav may need a micro mini adapter to fit the mic in port.
- Power up camera (left thumb)
- Turn Main dial above power switch to the video camera icon. (last one)
- On the lens select AF (Auto Focus)
- On the lens select stabilizer OFF if you are on a tripod. ON if you are hand holding .
If nobody has messed with the camera settings these should stay in place for AUTO. But if you want to double check these AUTO settings:
MENU
- SCREEN 1
- Movie exposure – AUTO
- AF Mode – Live mode (lets you see the image on the camera window.)
- SCREEN 2
- Movie REC Size 1920 x 1080 / 30p is fairly standard HD video. 24p is best for cinematic footage.
- Sound Recording – AUTO
You can start shooting now
- Focus on subject by placing the square in the middle of the window on the subject and press the shooting tigger button (right forefinger) half way to set focus. (or press the AF ON button with thumb.)
- Increase or decrease exposure by rotating the Thumb Wheel.
- Push camera icon by viewfinder to start recording.
- Push again to stop recording
Shooting VIDEO on Manual
Rotate top dial to the video camera
Press Menu (there are 3 VIDEO screens for settings. Select them with the wheel on the top right on your right forefinger)
- SCREEN 1
- Movie exposure – Manual
- AF Mode – Live mode (lets you see the image on the camera window.)
- SCREEN 2
- Movie REC Size 1920 x 1080 / 24. This is the most cinematic setting.
- Sound Recording – Manual. Adjust the sound level so that it is not hitting 0 Just above 12 is fine.
- SCREEN 3
- White balance. For indoor office setting choose SUN – Daylight.
(Most of these menu items can also be accessed from the Q button (Quick Menu). Move up and down these icons by pressing the top and bottom of the outer ring on the SET button.
Then you can set your shutter speed, aperture and ISO just like you would if shooting photos.
- Set your shutter speed to 60
- Adjust your f stop to get a good exposure.
- Adjust your ISO up if you need more light.
- Press the i button to get the histogram to see your exposure
- Focus on subject
- Press the camera icon to start recording.
In The News
- At May 23, 2015
- By Johnny Stevens
- In abstract, Aerial photography, aerial video, architectural photos, areial video, art for sale, austin architectural photographer, Austin photographer, canvas prints for sale, Drone photography, Drone Video, Fine Art, HDR, hot rods, landscape, light painting, Photography, Photoshop, portrait, portrait photography, professional, protrait, real estate photography, rust rapture
 0
0
Johnny’s work has recently been featured in the following publications. Click on any image to view each article!

Photography
- At July 22, 2014
- By Johnny Stevens
- In Aerial photography, aerial video, austin architectural photographer, Austin photographer, beautiful, composite portraiture, family, Floral, headshots, lifestyle photography, light painting, Photography, portrait photography, professional, student housing, student lifestyle
 0
0
Professional Photography in Austin
As one of the best photographers in Austin, and certainly the easiest to work with, Johnny Stevens has a versatile portfolio of photography that can be seen below. Browse through the architectural photography, aerial drone photography, portrait photography, fine art photography, and scenic photography galleries below, or use the above menu.
Architectural
- At July 22, 2014
- By Johnny Stevens
- In Aerial photography, american campus, architectural photos, architecutral, austin architectural photographer, Austin photographer, commercial photography, drone, Drone photography, Drone Video, HDR, hotel, light painting, Photography, professional, real estate, real estate photography, Tilt shift, tilt-shift lens
 0
0

U Pointe on Speight Student housing architectural exterior real estate photograph
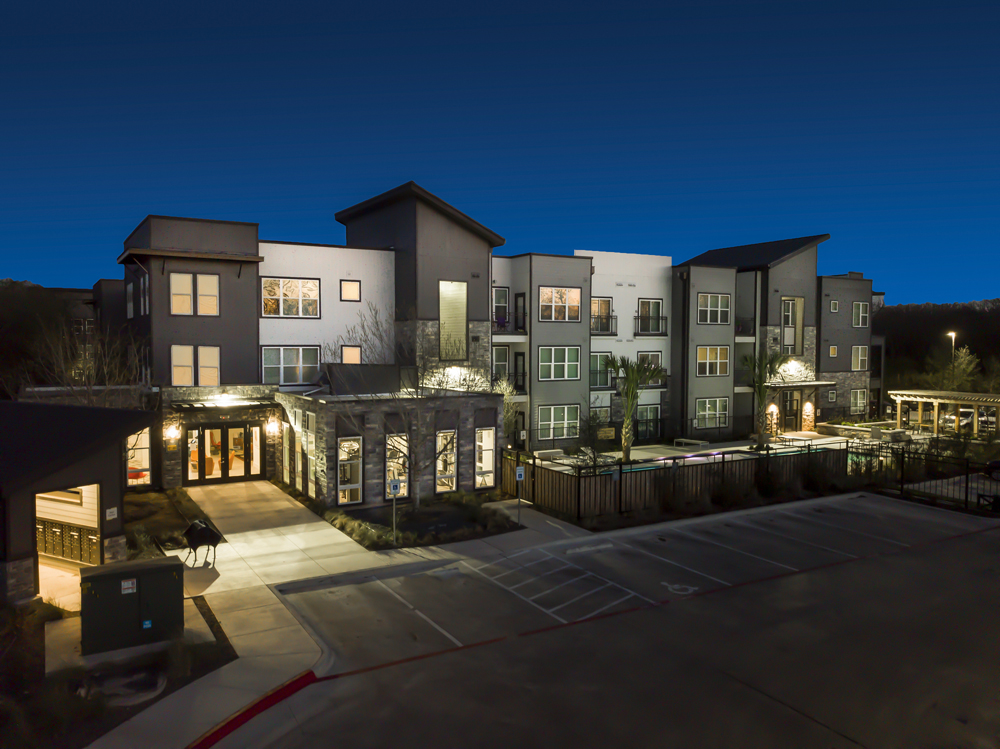
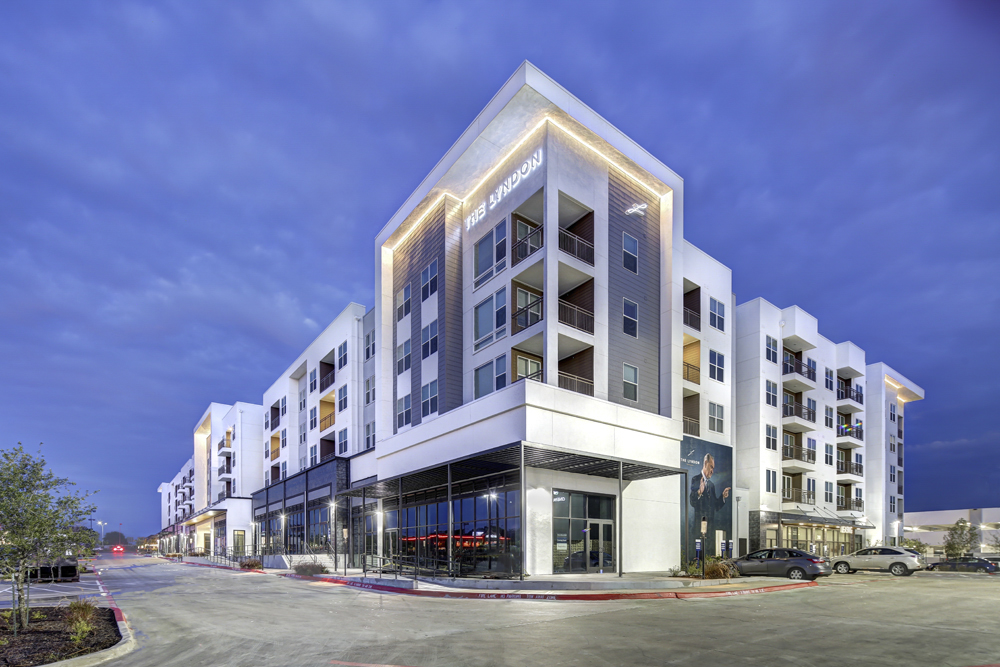
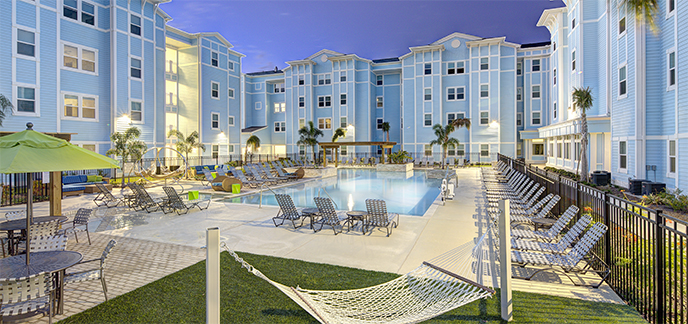
Johnny’s expertise in light painting, spot lighting, blending techniques, and special tilt shift camera lenses allow him to reveal the inherent beauty and detail of a space or building. Johnny’s student housing and commercial architectural work, with companies like American Campus Communities, The Michaels Organization, and Landmark Properties take him across country to capture images that are displayed on the pages of dozens of premier student housing and commercial real estate sites.
Post Processing


From the Photographer: Architectural Photographer in Austin, Johnny StevensThere are as many way to photograph architecture as there are to shoot portraiture. Choices in photographing architecture or real estate include adding light to the scene or just shooting in natural light. Should I add models and actors or photograph without? Shall I shoot with a normal lens or photograph with wide angle lenses? Must I pay the price for tilt shift lenses or not? Must I photograph on a tripod or make the mistake of not doing so. What kind of camera do I need? What resolution images should I shoot? Raw images or jpeg? Do I need to balance the color in the room with filtered lighting or do color correction later in Photoshop? Do I need to hire a set designer or move things around myself?One of the key considerations for my architectural work is composition and perspective and that is why I use tilt shift lenses. These are referred to sometimes as perspective shift lenses. Not only do they let you tilt the lens to create selective focus – or a sense of shallow depth of field (used for miniaturization photography) they also allow you to shift the lens up and down on a vertical plane that honors the vertical walls of the building, house or room you are shooting. It is not uncommon for photographers to forego the expense of these tilt shift lenses and shoot with a 14mm to 28 mm lens for wide shots, and then fix the perspective or the convergence of parallel lines (the walls) in Photoshop later by transforming the image, but there is a critical point at which Photoshop transformed rooms or building begin to look spooky and abnormal because the top or bottom of the image has been stretched in to emulate a truly vertical image.The added value off the tilt shift lenses is that it gives you the opportunity to photograph a vertically true lower shot and then shift up on the room to shoot an upper version of the room and then photomerge them together in Photoshop to render an image with lots more real estate (no pun intended) – a much larger area than the SLR camera shoots in a single shot. So now an image that comes out of the camera with a native 3 x 2 aspect ratio gets closer to a much taller 1 x 1 aspect ratio. It offers my clients more latitude in cropping the image the way they please, depending on the space requirements of their print layout, or web page.Another consideration for photographing architecture is high dynamic range (HDR) versus using lights to light the room. I use both techniques and often blend the two. HDR makes traveling and shooting much more efficient but it also presents some issues that have to be corrected later. I bracket my shutter speed 5 exposures – 1.5 stops apart – one normal exposure, over 1.5 and over 3 stops and under 1.5 stops and under 3 stops. This is why you have to use a tripod. Exposures climb up to 30 seconds for exterior night time scenes. The faster shutter speeds in this wider bracket renders more detail in the windows after fusing them in Photomatix. My settings in Photomatix are my secret sauce but have found a setting that can render a scene looking very normal rather than with the excessive surreal effects that HDR can often produce, and the yellow and orange cast that are often rendered. I often will photograph a scene with HDR and then go around the room and spotlight areas (especially if they are backlit by a window making the foreground dark) that need an exposure pop and then mask in those areas later in Photoshop, after color correcting both the HDR image and the single exposure images.
Blog
- At August 06, 2012
- By Johnny Stevens
- In aerial, Aerial photography, aerial video, american campus, architectural photos, areial video, austin architectural photographer, Austin photographer, beautiful, drone, Drone photography, Drone Video, family, Fine Art, headshots, hot rods, landscape, lifestyle photography, light painting, Photography, Photoshop, portrait photography, professional, protrait, real estate, real estate photography, rust rapture, speedlights, student housing, student lifestyle, travel, video, videography
 0
0
Home
- At August 05, 2012
- By Johnny Stevens
- In Aerial photography, american campus, architectural photos, architecutral, austin architectural photographer, Austin photographer, commercial photography, drone, Drone photography, headshots, light painting, Photography, Photoshop, professional, real estate, real estate photography, rust rapture, scenic, spot lighting, student housing, student housing photographer austin tx, student lifestyle, travel, videography
 0
0


