Simple Photographer’s Contract
It’s not often I need to use a contract but it came up recently and thought it may be helpful to other photographers to have a scaled down simple 2 page agreement. Here is one you can just copy and paste. There is an option to ask for ½ of the fees up front which you can delete if you are comfortable with billing out on 30 day terms, as I generally do. Also there is a model clause that you can delete unless you are shooting people (portraits) or models. I used some real numbers in the estimate of fees that you can change out for your own purposes. Here you go:
This agreement is between ____________________________(hereafter “Photographer” “the Photographer” or “Photography Company”)
and ____________________ (hereafter referred to as “CLIENT”).
Scope of Work:
This contract is for services and products related to a photography shoot (hereafter “shoot” or “the shoot”) to take place at the following time and place:
__________________________________________________________
PHOTOGRAPHER will also perform retouching, post-processing or digital image editing services on these photos where artistically necessary. The final post production and editing styles, effects, and overall look of the images are left to the discretion of the Photographer.
Fees:
In consideration for the photography services provided by PHOTOGRAPHER, CLIENT agrees to pay the sum of
| Photographer and gear | $1,600 / day | .5 days | $800 |
| Photoshop retouching | $95 / hr. | 3 hrs. | $285 |
| TOTAL Estimate | $1,085 |
CLIENT agrees to pay the photographer $___________ which is due within 30 days of the day of the SHOOT.
[[Option: CLIENT agrees to pay the photographer ___________ or the initial payment totaling 50% (fifty-percent) of the total price of the photography services upon signing this contract. The balance of the payment for photography services must be paid in full no later than 30 days after the SHOOT]]
If CLIENT is required to purchase photos separately after the SHOOT, payment for those photos is due immediately upon delivery of photos to client.
Expenses:
When applicable, the CLIENT is responsible for all travel, accommodation, meal and transport costs unless provided by the CLIENT.
Travel Expenses:
All travel expenses are based on the distance between the location(s) and the Photographer’s studio address. The first 10 miles roundtrip of travel are included. All miles in excess of 10 miles roundtrip are charged at $.58 per mile.
Delivery:
PHOTOGRAPHER will deliver review jpegs (proofs) of photos to CLIENT no more than 3 days after the date of the SHOOT. Final images to be delivered to CLIENT will be hi resolution TIFFs or JPEG images.
Image Rights:
The photographs produced by Photographer are protected by Federal Copyright Law (all rights reserved) and may not be reproduced, shared or sold in any manner without the Photographers explicitly written permission. Photographer extends to client perpetual rights to all images for use online and/or print for the purposes of promoting the CLIENT Company. Photographer will retain full rights to same images for the purposes of selling rights to vendors or for the purposes of promoting Photographer’s website and business.
Indemnification:
If PHOTOGRAPHER is unable to perform the services in this contract due to any cause outside its control, CLIENT agrees to indemnify photographer for any loss damage or liability; however, PHOTOGRAPHER will return in full all payments made by CLIENT to PHOTOGRAPHER in relation to this SHOOT.
CLIENT agrees to indemnify and hold harmless PHOTOGRAPHER for any liability, damage, or loss related to technological failure, including data loss.
CLIENT understands and agrees that PHOTOGRAPHER is not required to maintain copies of the photos from this shoot one year after the photos have been delivered to CLIENT.
CLIENT agrees to hold PHOTOGRAPHER harmless for any personal injury which may occur.
Duty of Client
CLIENT will obtain all permissions necessary for PHOTOGRAPHER to photograph at the SHOOT. PHOTOGRAPHER has no duty to obtain permissions for locations. CLIENT understands and agrees that any failure to obtain these permissions resulting in fines to photographer, or which prevent photographer from photographing the event(s) is not the fault, liability, or responsibility of photographer.
[[Optional for Portraits: Model Release
CLIENT grants permission to PHOTOGRAPHER and its assigns, licensees, and sublicensees, permission to use CLIENT’S image or likeness in any and all forms of media for commercial purposes, advertising, trade, personal use, or any and all other uses. Therefore, PHOTOGRAPHER may use CLIENT’S likeness and image on PHOTOGRAPHER’S website or other advertising. PHOTOGRAPHER may sell photos containing CLIENT’S likeness to third parties.]]
PHOTOGRAPHER Signature __________________________________________________
Date: ___________________________
CLIENT Signature: ______________________________________________________________
Date: ____________________________
OK so your camera hits the concrete lens first – lens damage!
What to do when your camera and lens hits the concrete floor – lens damage…
Just last week I was shooting for American Campus at one of their properties at Florida State in Tallahassee. My camera with my Canon TS-E 17mm tilt shift lens was mounted on my Manfrotto Neotec tripod. One of the legs of the tripod decided to get in the way of my foot as I leaned forward to reach for my cup of coffee. Down goes the whole rig – lens first – and of course this lens is like a huge eyeball – all round glass on the front with nothing to protect it. The front of the lens was greeted by a lovely tile floor. This is not the image you want to see when you turn around after hearing that horrifying sound similar to someone stepping on a wine glass.

tilt shift lens hits the tile
After inspection I noticed that the lens fracture was an interesting pattern. The cracks in the glass were constricted to the outside of the lens. I also noticed that I could not turn the focus ring. It was lodged tight as a coon’s ass. $2,000 buck down the drain. If the camera was damaged, I would be doubling my pain. After regaining my senses, I tested the camera and it work perfectly. Why not shoot a test shot and see what I get? Amazing! The fracture in the glass did not show up in the shot, and the focus ring had locked up at a focus of about 12 feet which for a 17 mm lens still delivers lots of depth of field. I decided to shoot out the project with that focus setting with and take a chance – with the camera lens damaged.
Sure enough, my shots were clean. Some of the exterior shots were bit fuzzy at the farthest points but a bit of sharpening in camera raw fixed that.
What I appreciate:
- The indestructibility of the Canon 5D Mark III camera. This is not the first time it has meet the earth.
What I learned:
- Carrying an extra lens was still a good idea.
- Having gear insurance was a good idea. Mine was through Professional Photographers of America.
2016 Rat Rod Show
I know you guys are just dying to know how my shoot at the Lonestar Custom Car Roundup when last weekend….
I was very distraught with the lack of rat rods, as they are going out of fashion. People are back into polished restoration of their cars.
Dejected, I was walking out of the show when I stumbled on this beauty

Intimate Portrait
Somewhat challenging shoot, an intimate portrait.
My client has a small apartment so after moving the dinette table I had about 8 x 10 feet to shoot. This is always fun to figure things out on the fly when on location shooting. Portrait photography is a bit more stressful because you have to keep the subjects comfortable and calm while you are frantically trying to figure out what happened to the wireless connection between your camera and your flashes! This shoot has one speed light in an umbrella, one flash in a rapidbox strip as a kicker light on her face, a collapsible background, a cam ranger and my ipad to watch the images going down.
-

intimate portrait by johnny stevens austin texas

Intimate Couples Portrait
In The News
- At May 23, 2015
- By Johnny Stevens
- In abstract, Aerial photography, aerial video, architectural photos, areial video, art for sale, austin architectural photographer, Austin photographer, canvas prints for sale, Drone photography, Drone Video, Fine Art, HDR, hot rods, landscape, light painting, Photography, Photoshop, portrait, portrait photography, professional, protrait, real estate photography, rust rapture
 0
0
Johnny’s work has recently been featured in the following publications. Click on any image to view each article!

Clients
- At February 09, 2015
- By Johnny Stevens
- In aerial, aerial video, american campus, architectural photos, art for sale, austin architectural photographer, Austin photographer, canvas prints for sale, Drone photography, Drone Video, Fine Art, headshots, landscape, light painting, Photography, Photoshop, portrait, protrait, real estate, real estate photography, rust rapture
 0
0
BizFilm Media, LLC
Johnny Carino’s Italian Restaurants
Mason Health Care
Oxford Commercial Real Estate
Paul Mitchell Systems
Pauly Realty
Premier Partners Homes
Regsiter Dixon Homes
Riverplace Country Club
The Natasha Group Keller Williams
The Roby Institute
Threshold Agency
Wayport
Will Mokry Designs
World Class Capital Group
Todd Associates
All American Family Portraits for Wonder and Worries
- At August 26, 2014
- By Johnny Stevens
- In Austin photographer, charity, protrait
 0
0
I just love the sassiness of the boy with his arms crossed.
I do some pro bono work for charities around town. One of my favorite is Wonders and Worries. This organization provides individual and group support services for children ages 2-18 whose mom or dad are fighting a life threatening illness. These are a couple of family portraits I just shot to feature at the Wonders and Worries Que Maravilla fundraiser this year.
Photography
- At July 22, 2014
- By Johnny Stevens
- In Aerial photography, aerial video, austin architectural photographer, Austin photographer, beautiful, composite portraiture, family, Floral, headshots, lifestyle photography, light painting, Photography, portrait photography, professional, student housing, student lifestyle
 0
0
Professional Photography in Austin
As one of the best photographers in Austin, and certainly the easiest to work with, Johnny Stevens has a versatile portfolio of photography that can be seen below. Browse through the architectural photography, aerial drone photography, portrait photography, fine art photography, and scenic photography galleries below, or use the above menu.
Architectural
- At July 22, 2014
- By Johnny Stevens
- In Aerial photography, american campus, architectural photos, architecutral, austin architectural photographer, Austin photographer, commercial photography, drone, Drone photography, Drone Video, HDR, hotel, light painting, Photography, professional, real estate, real estate photography, Tilt shift, tilt-shift lens
 0
0

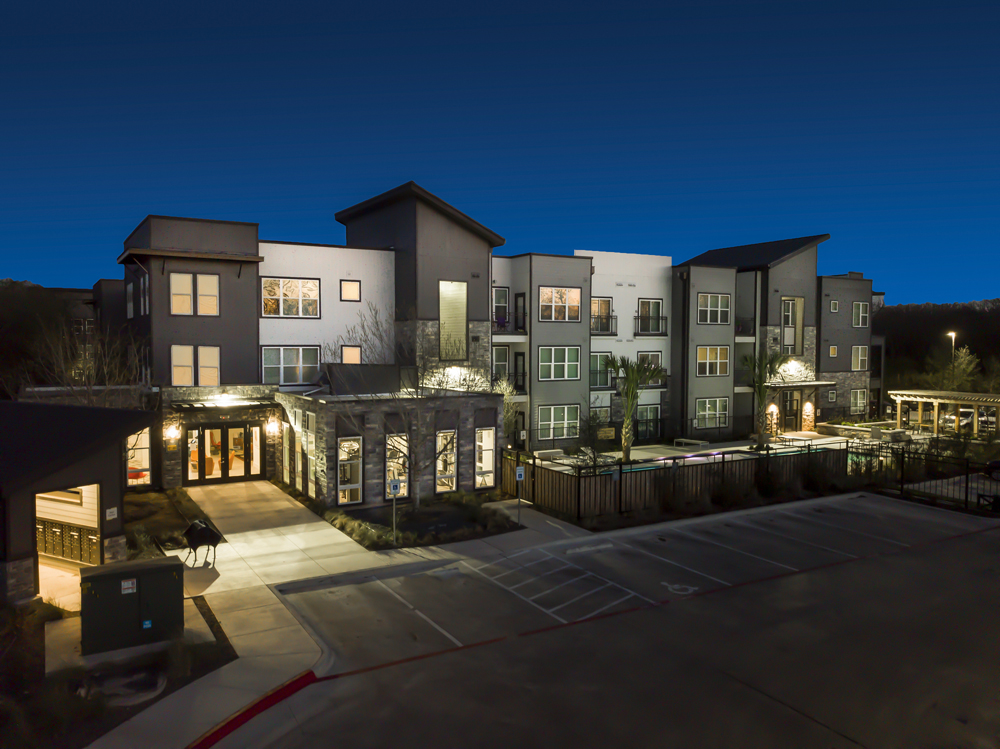
U Pointe on Speight Student housing architectural exterior real estate photograph
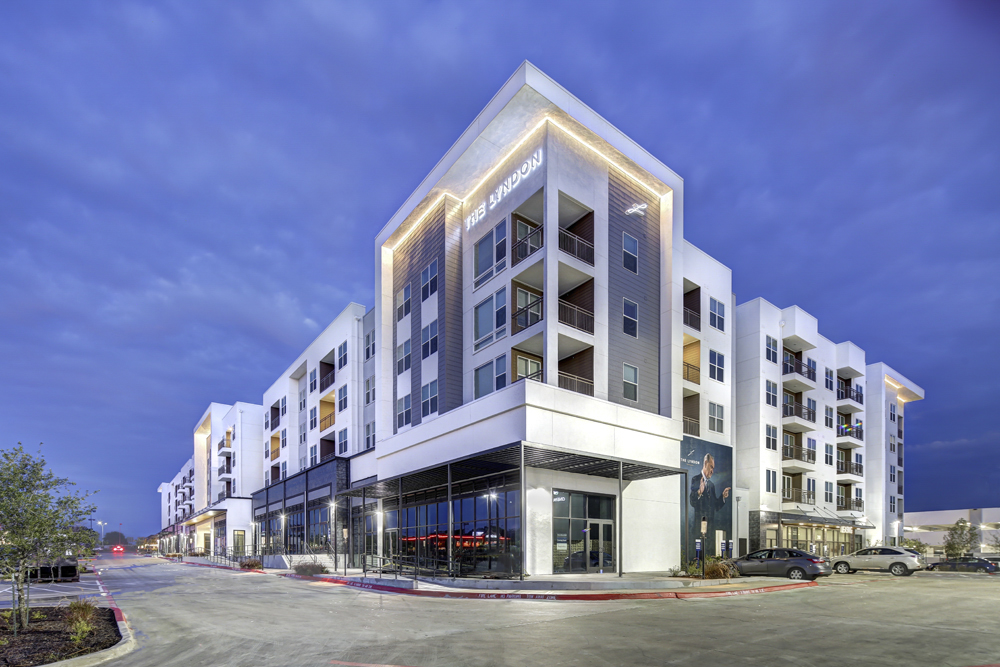
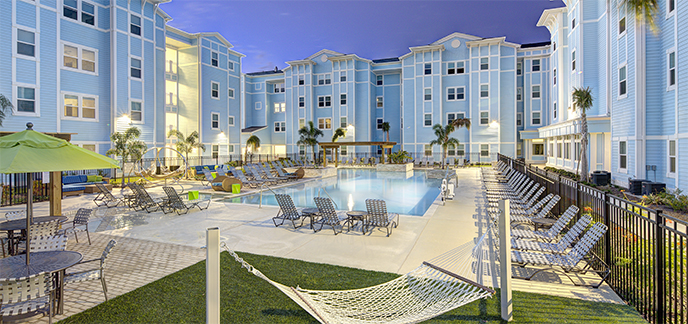
Johnny’s expertise in light painting, spot lighting, blending techniques, and special tilt shift camera lenses allow him to reveal the inherent beauty and detail of a space or building. Johnny’s student housing and commercial architectural work, with companies like American Campus Communities, The Michaels Organization, and Landmark Properties take him across country to capture images that are displayed on the pages of dozens of premier student housing and commercial real estate sites.
Post Processing


From the Photographer: Architectural Photographer in Austin, Johnny StevensThere are as many way to photograph architecture as there are to shoot portraiture. Choices in photographing architecture or real estate include adding light to the scene or just shooting in natural light. Should I add models and actors or photograph without? Shall I shoot with a normal lens or photograph with wide angle lenses? Must I pay the price for tilt shift lenses or not? Must I photograph on a tripod or make the mistake of not doing so. What kind of camera do I need? What resolution images should I shoot? Raw images or jpeg? Do I need to balance the color in the room with filtered lighting or do color correction later in Photoshop? Do I need to hire a set designer or move things around myself?One of the key considerations for my architectural work is composition and perspective and that is why I use tilt shift lenses. These are referred to sometimes as perspective shift lenses. Not only do they let you tilt the lens to create selective focus – or a sense of shallow depth of field (used for miniaturization photography) they also allow you to shift the lens up and down on a vertical plane that honors the vertical walls of the building, house or room you are shooting. It is not uncommon for photographers to forego the expense of these tilt shift lenses and shoot with a 14mm to 28 mm lens for wide shots, and then fix the perspective or the convergence of parallel lines (the walls) in Photoshop later by transforming the image, but there is a critical point at which Photoshop transformed rooms or building begin to look spooky and abnormal because the top or bottom of the image has been stretched in to emulate a truly vertical image.The added value off the tilt shift lenses is that it gives you the opportunity to photograph a vertically true lower shot and then shift up on the room to shoot an upper version of the room and then photomerge them together in Photoshop to render an image with lots more real estate (no pun intended) – a much larger area than the SLR camera shoots in a single shot. So now an image that comes out of the camera with a native 3 x 2 aspect ratio gets closer to a much taller 1 x 1 aspect ratio. It offers my clients more latitude in cropping the image the way they please, depending on the space requirements of their print layout, or web page.Another consideration for photographing architecture is high dynamic range (HDR) versus using lights to light the room. I use both techniques and often blend the two. HDR makes traveling and shooting much more efficient but it also presents some issues that have to be corrected later. I bracket my shutter speed 5 exposures – 1.5 stops apart – one normal exposure, over 1.5 and over 3 stops and under 1.5 stops and under 3 stops. This is why you have to use a tripod. Exposures climb up to 30 seconds for exterior night time scenes. The faster shutter speeds in this wider bracket renders more detail in the windows after fusing them in Photomatix. My settings in Photomatix are my secret sauce but have found a setting that can render a scene looking very normal rather than with the excessive surreal effects that HDR can often produce, and the yellow and orange cast that are often rendered. I often will photograph a scene with HDR and then go around the room and spotlight areas (especially if they are backlit by a window making the foreground dark) that need an exposure pop and then mask in those areas later in Photoshop, after color correcting both the HDR image and the single exposure images.
Fine Art
Johnny’s Abstract / Photographic Fine Art gallery is one of his most captivating of his collections. As one of the most popular photographic art photographers in Texas, he masterfully transforms images of common elements and nature into art via creative editing techniques in Photoshop.
Johnny’s fine art images are also available for print and licensing. His most popular fine art collection is the “Rust Rapture” series, which was recently featured in Austin’s O2 Gallery and the Caldwell Arts Council, garnering rave reviews from various art enthusiasts:
“I am fascinated with Johnny’s Rust Rapture photographs. They are mesmerizing amalgamations of movement, color and organic patinas. Bravo!” – Francine Affourtit
This art can be purchased with original signatures (limited availability). Please contact Johnny for more information on customization or commissions.
Click here for print options and ordering!

