Architectural Photography and Aerial Drone Photos for Barshop & Oles
Architectural Photography and Aerial Drone Photos for Barshop & Oles
As a professional architectural photographer in Austin Texas, I am always looking for ways to improve my photographs. For Barshop and Oles Company I recently had the chance to think outside the box. For this photograph of HEB at Lakeline Mall in Austin, I decided to merge 10 photos of people walking in and out of the store and mask each of the customers in so that the store looked even more busy than it was. Since the sky was an ugly hazy gray I replaced it in Photoshops with the new SKY REPLACEMNT tool which is absolutely a lifesaver when editing exterior photographs.

Architectural photograph of HEB Lakeline BEFORE EDITING

Architectural photograph of HEB Lakeline AFTER EDITING
The client also wanted two aerial cityscapes – one of Austin and one of San Antonio, and asked me to try to blend the two into one photograph. The composite image has Austin on the Left and San Antonio on the Right. And of course I added a pretty sky to the blended image.

Austin San Antonio Cityscape blended

BEFORE EDITING Aerial Cityscape of Austin

BEFORE EDITING the composite of Austin on the left and San Antonio on the right
Photographing Student Housing with the drone
Photographing Student Housing with the drone
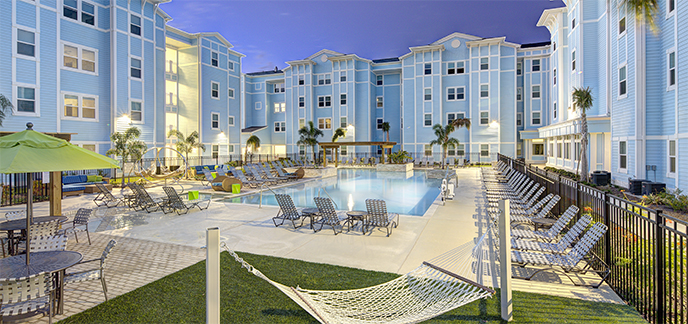
How many times have I just wanted to get the camera up 10 feet to really showcase the exteriors of some of the student housing properties I have shot? Photographing aerial Student Housing with the drone is the simple answer because the drone allows me to get a different perspective on the property. Usually I noticed that I do get some keystoning distortion simply because I am often shooting down. This is easily corrected with the vertical perspective tool in Camera Raw in Photoshop. Here an example of the difference in perspective from ground photographs off the tripod and similar ones from the drone. These are both the same property by American Campus Communities.

Ground photo from tripod of the pool at Townhomes at Newtowne in Lexington

Aerial Drone photo from Mavic Pro drone of the pool at Townhomes at Newtowne in Lexington
Architectural photography for new Student Housing in San Marcos
Architectural photography for new Student Housing in San Marcos
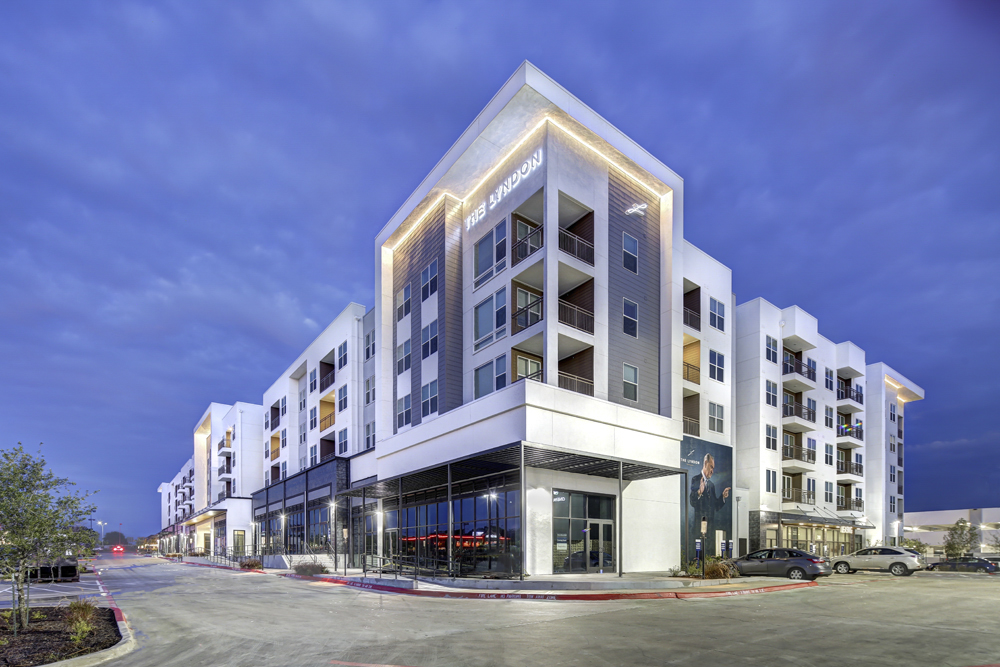
I was asked to provide some professional architectural photography for new Student Housing in San Marcos. The student apartments is called The Lyndon. It services Texas State University. One of the feature amenities is an amazing pool with a jumbotron TV system that really rocks. I love the portrait of LBJ in the entry of the great room. My client was Berkadia out of Philadelphia, and the current management of the property is by Asset Campus Housing out of Houston.

Aerial drone Pool Exterior and Jumbotron at The Lyndon Architectural photography in San Marcos by Johnny Stevens

The Lyndon Architectural photography in San Marcos by Johnny Stevens
Architectural photography for RollFab
Architectural photography for RollFab
I was recently asked to do some Architectural photography for RollFab in Austin. They are based in Phoenix. RollFab makes metal panels that look like wood. They offer a full line of the highest quality metal roofing systems, siding and metal wall panels for architectural, commercial, industrial, and residential projects of every kind. Architects, contractors and installers appreciate the quality service from their professional staff. They are ready to answer any question, and help devise custom solutions to individual project needs. This project is located at the Village at the Triangle in Austin. It is pretty cool stuff so I thought it would be nice to toss in a few drone shots of the building too because actually getting up an additional 15 feet higher was very helpful in showing the vertical side panels of the RollFab product on the building.

Architectural photography in Austin for RollFab

RollFab products installed at Village at Triangle architectural photography Austin
Aerial Drone Architectural Photography
Aerial Drone Architectural Photography
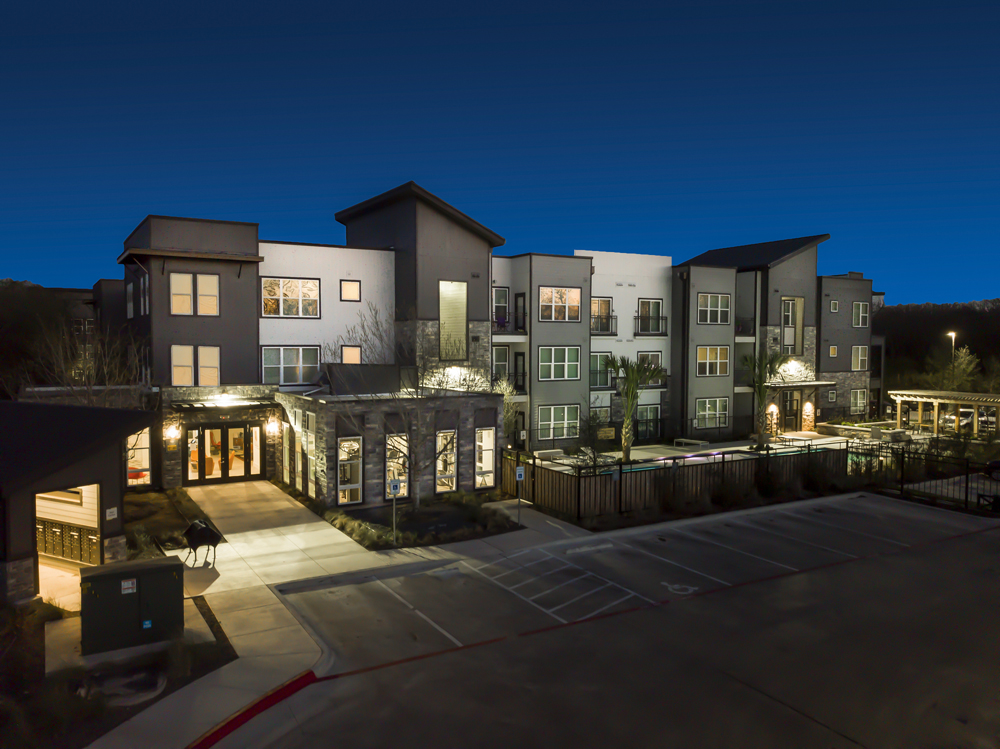
I was asked by an architect named Humphreys & Partners Architects who have offices in the US, Vietnam, China and Uruguay, to photograph some twilight aerial drone architectural photographs of a property in Austin, called ThinkEast Austin. Student Housing photography is my main forte so this apartment complex was a familiar project. As a professional architectural photographer in Austin I have learned that the drone is my best friend. Just to be elevated 10 to 15 feet to photograph a structure can make all the difference. The rain had just ended and I launched the DJI Mavic Pro in pretty heavy wind. Getting a fast enough shutter speed with the lowest possible ISO is always the challenge when shooting in the dark. You cannot shoot from a drone with a shutter speed higher than 1/30 especially if it is windy. My ISO was pumped up to 1000 but it worked out well after I did my adjustments in Adobe Camera Raw. The lighting on the building was not very attractive so I had to create my own light in Photoshop. I had to push and pull the shadows, highlights and white quite a bit to get a nice looking final image. Here is the before and after.

Aerial architectural photo with Mavic Pro Austin AFTER editing

ThinkEast Drone architectural photo before editing
The Mavic Pro drone perfect perspective
The Mavic Pro drone perfect perspective
How many times have I been shooting architecture from a tripod and wishing I could get just 10 feet higher? The Mavic Pro drone adds the perfect perspective for those situations. The drone does not have the vertical perspective adjust-ability as the TS-E 17 lens does, but once you are up 10 or 20 feet, you don’t need it because the verticals are true at those heights.

Aerial architectural photo with Mavic Pro photographer Johnny Stevens

Aerial architectural photo with Mavic Pro Austin

Aerial architectural photo with Mavic Pro Johnny Stevens
Aerial Drone
How many times have I been shooting a structure and wishing I could get just 20 feet up rather than shooting from the ground?

ThinkEast Apartment Aerial architectural photo with Mavic Pro 2 Austin
Alas, this is just what the drones offer us. Not only do they offer a different perspective on a structure, but we can add video to leverage aerial motion and feature the surroundings. Add a bit of moody music and you have a very compelling representation of a property. My drone of choice is the DJI Mavic Pro 2 with the Hasselblad camera simply because I can pack it in my photo bag and travel with it on planes. The camera delivers a superior still image as well.
Drone Photography and Video by Johnny Stevens
FAA Licensed Drone Pilot
FAA Registration FA3347KRKA
Architectural
- At July 22, 2014
- By Johnny Stevens
- In Aerial photography, american campus, architectural photos, architecutral, austin architectural photographer, Austin photographer, commercial photography, drone, Drone photography, Drone Video, HDR, hotel, light painting, Photography, professional, real estate, real estate photography, Tilt shift, tilt-shift lens
 0
0

U Pointe on Speight Student housing architectural exterior real estate photograph
Johnny’s expertise in light painting, spot lighting, blending techniques, and special tilt shift camera lenses allow him to reveal the inherent beauty and detail of a space or building. Johnny’s student housing and commercial architectural work, with companies like American Campus Communities, The Michaels Organization, and Landmark Properties take him across country to capture images that are displayed on the pages of dozens of premier student housing and commercial real estate sites.
Post Processing


From the Photographer: Architectural Photographer in Austin, Johnny StevensThere are as many way to photograph architecture as there are to shoot portraiture. Choices in photographing architecture or real estate include adding light to the scene or just shooting in natural light. Should I add models and actors or photograph without? Shall I shoot with a normal lens or photograph with wide angle lenses? Must I pay the price for tilt shift lenses or not? Must I photograph on a tripod or make the mistake of not doing so. What kind of camera do I need? What resolution images should I shoot? Raw images or jpeg? Do I need to balance the color in the room with filtered lighting or do color correction later in Photoshop? Do I need to hire a set designer or move things around myself?One of the key considerations for my architectural work is composition and perspective and that is why I use tilt shift lenses. These are referred to sometimes as perspective shift lenses. Not only do they let you tilt the lens to create selective focus – or a sense of shallow depth of field (used for miniaturization photography) they also allow you to shift the lens up and down on a vertical plane that honors the vertical walls of the building, house or room you are shooting. It is not uncommon for photographers to forego the expense of these tilt shift lenses and shoot with a 14mm to 28 mm lens for wide shots, and then fix the perspective or the convergence of parallel lines (the walls) in Photoshop later by transforming the image, but there is a critical point at which Photoshop transformed rooms or building begin to look spooky and abnormal because the top or bottom of the image has been stretched in to emulate a truly vertical image.The added value off the tilt shift lenses is that it gives you the opportunity to photograph a vertically true lower shot and then shift up on the room to shoot an upper version of the room and then photomerge them together in Photoshop to render an image with lots more real estate (no pun intended) – a much larger area than the SLR camera shoots in a single shot. So now an image that comes out of the camera with a native 3 x 2 aspect ratio gets closer to a much taller 1 x 1 aspect ratio. It offers my clients more latitude in cropping the image the way they please, depending on the space requirements of their print layout, or web page.Another consideration for photographing architecture is high dynamic range (HDR) versus using lights to light the room. I use both techniques and often blend the two. HDR makes traveling and shooting much more efficient but it also presents some issues that have to be corrected later. I bracket my shutter speed 5 exposures – 1.5 stops apart – one normal exposure, over 1.5 and over 3 stops and under 1.5 stops and under 3 stops. This is why you have to use a tripod. Exposures climb up to 30 seconds for exterior night time scenes. The faster shutter speeds in this wider bracket renders more detail in the windows after fusing them in Photomatix. My settings in Photomatix are my secret sauce but have found a setting that can render a scene looking very normal rather than with the excessive surreal effects that HDR can often produce, and the yellow and orange cast that are often rendered. I often will photograph a scene with HDR and then go around the room and spotlight areas (especially if they are backlit by a window making the foreground dark) that need an exposure pop and then mask in those areas later in Photoshop, after color correcting both the HDR image and the single exposure images.
Blog
- At August 06, 2012
- By Johnny Stevens
- In aerial, Aerial photography, aerial video, american campus, architectural photos, areial video, austin architectural photographer, Austin photographer, beautiful, drone, Drone photography, Drone Video, family, Fine Art, headshots, hot rods, landscape, lifestyle photography, light painting, Photography, Photoshop, portrait photography, professional, protrait, real estate, real estate photography, rust rapture, speedlights, student housing, student lifestyle, travel, video, videography
 0
0
Contact
- At August 06, 2012
- By Johnny Stevens
- In abstract, aerial, architectural photos, art for sale, Austin photographer, drone, Drone photography, Drone Video, Fine Art, lifestyle photography, nature, Photography, Photoshop, portrait, portrait photography, professional, real estate photography, student housing, student lifestyle, video
 0
0
Contact Johnny Stevens
CPP Photographer in Westlake, 78746
FAA Licensed Small Unmanned (Drone) Aircraft Pilot #4099138
FAA Registered DJI Mavic Pro quadcopter # FA3347KRKA
(512) 762-5621
johnny@johnnystevens.com
Don’t forget to share Johnny’s photography with your friends on social media using the sidebar, and connect with Johnny through the widget at the bottom of each page! Your reviews and likes/follows are the utmost compliment!
Check out and review Images by Johnny Stevens on the following sites as well:


