In The News
- At May 23, 2015
- By Johnny Stevens
- In abstract, Aerial photography, aerial video, architectural photos, areial video, art for sale, austin architectural photographer, Austin photographer, canvas prints for sale, Drone photography, Drone Video, Fine Art, HDR, hot rods, landscape, light painting, Photography, Photoshop, portrait, portrait photography, professional, protrait, real estate photography, rust rapture
 0
0
Johnny’s work has recently been featured in the following publications. Click on any image to view each article!

Architectural
- At July 22, 2014
- By Johnny Stevens
- In Aerial photography, american campus, architectural photos, architecutral, austin architectural photographer, Austin photographer, commercial photography, drone, Drone photography, Drone Video, HDR, hotel, light painting, Photography, professional, real estate, real estate photography, Tilt shift, tilt-shift lens
 0
0

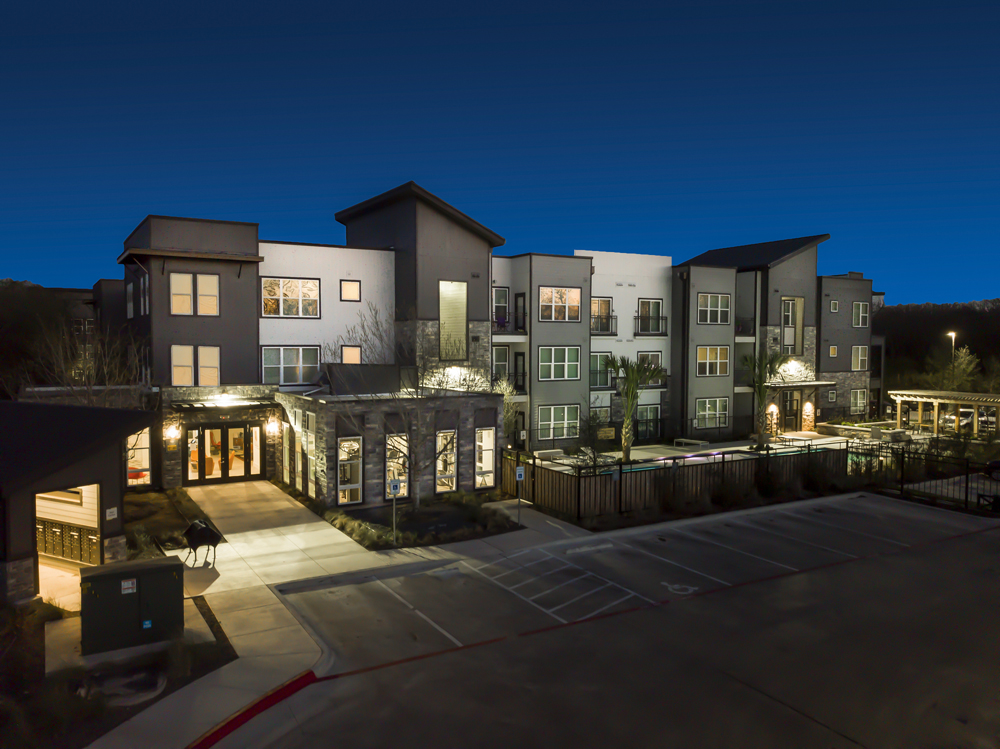
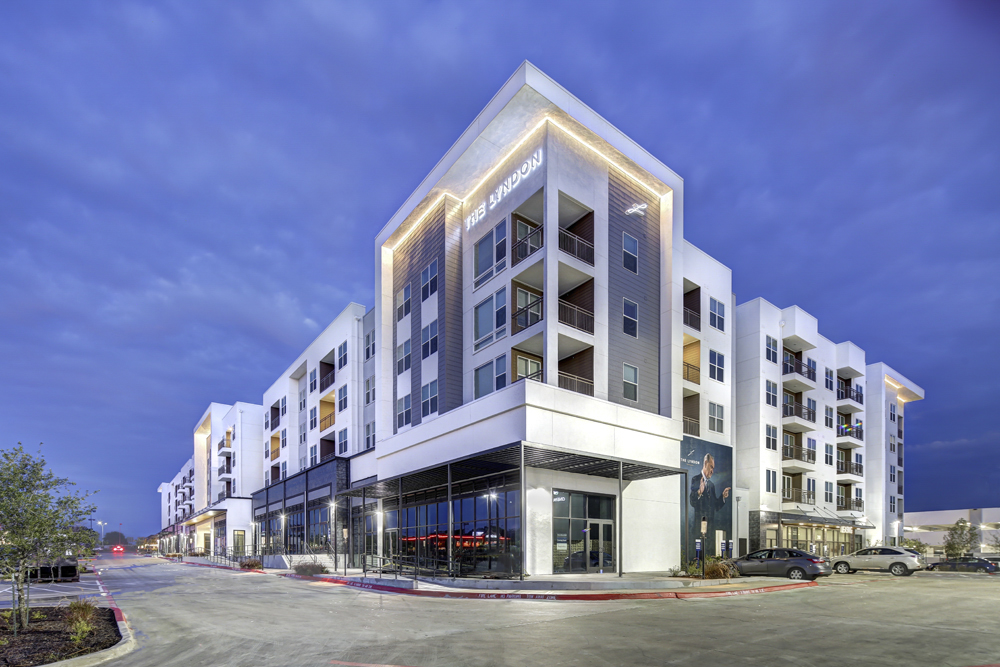
U Pointe on Speight Student housing architectural exterior real estate photograph
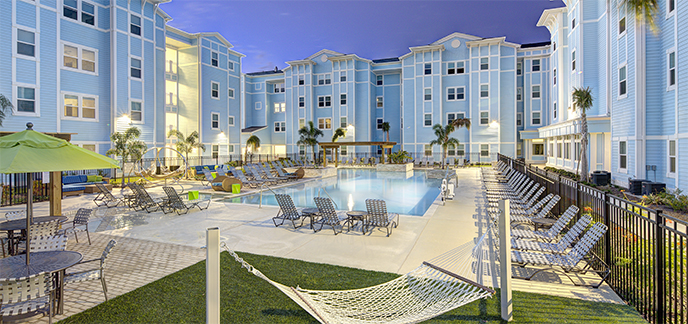
Johnny’s expertise in light painting, spot lighting, blending techniques, and special tilt shift camera lenses allow him to reveal the inherent beauty and detail of a space or building. Johnny’s student housing and commercial architectural work, with companies like American Campus Communities, The Michaels Organization, and Landmark Properties take him across country to capture images that are displayed on the pages of dozens of premier student housing and commercial real estate sites.
Post Processing
“click and drag the slider”


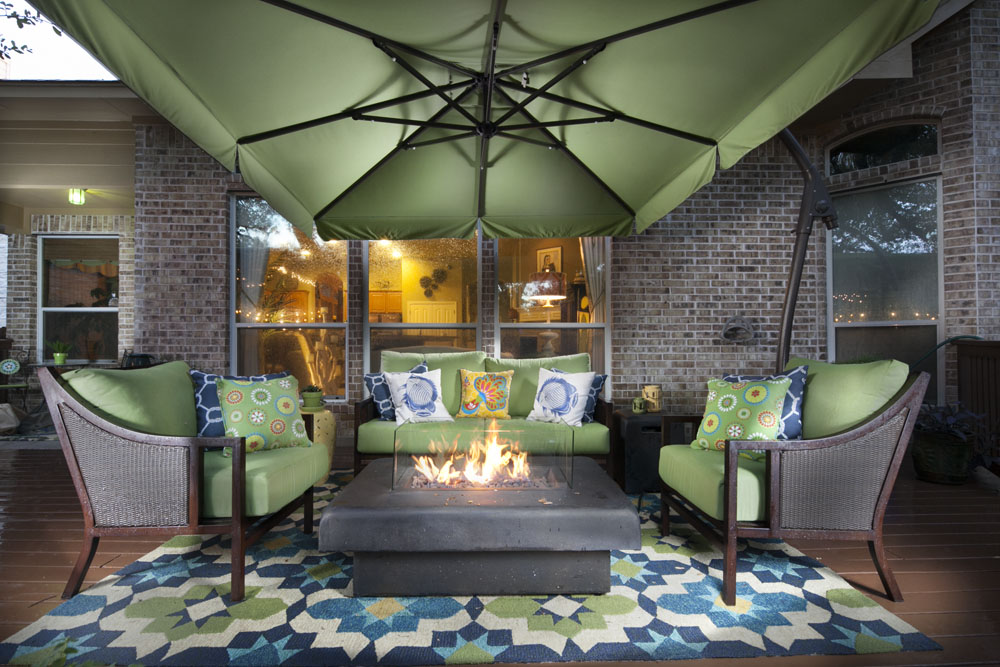
As architectural photographers, we are always looking for a better way to feature a room, space, or architectural feature. The camera angle is often the key to achieving the best approach. But often it is about how the light falls on the subject. This may be natural light, sunlight or strobe or speedlights. Most of these before and after images have been modified with pops of light from speed lights. One reason we use artificial light is that the light falling on the object (this also applies to portraits of people) has falloff that cannot be faked in photoshop. It is this shadow falloff that gives the object depth. The falloff can be made harsher (the range of highlights to shadows) or softer by changing the type of light modifier you have on your light source. The larger the modifier is the broader the falloff (shadows) will be. The light on the right side of the bar is coming from an umbrella which makes the falloff soft. The light on the rattan furniture in the country club below is straight light from a flash which makes the falloff sharper or harsher. The light popped up into the green umbrellas on the porch scene came from a flash with a dome diffuser on it to soften it just a bit. This really helped to give some texture to the inside of the umbrella.
From the Photographer: Architectural Photographer in Austin, Johnny StevensThere are as many way to photograph architecture as there are to shoot portraiture. Choices in photographing architecture or real estate include adding light to the scene or just shooting in natural light. Should I add models and actors or photograph without? Shall I shoot with a normal lens or photograph with wide angle lenses? Must I pay the price for tilt shift lenses or not? Must I photograph on a tripod or make the mistake of not doing so. What kind of camera do I need? What resolution images should I shoot? Raw images or jpeg? Do I need to balance the color in the room with filtered lighting or do color correction later in Photoshop? Do I need to hire a set designer or move things around myself?One of the key considerations for my architectural work is composition and perspective and that is why I use tilt shift lenses. These are referred to sometimes as perspective shift lenses. Not only do they let you tilt the lens to create selective focus – or a sense of shallow depth of field (used for miniaturization photography) they also allow you to shift the lens up and down on a vertical plane that honors the vertical walls of the building, house or room you are shooting. It is not uncommon for photographers to forego the expense of these tilt shift lenses and shoot with a 14mm to 28 mm lens for wide shots, and then fix the perspective or the convergence of parallel lines (the walls) in Photoshop later by transforming the image, but there is a critical point at which Photoshop transformed rooms or building begin to look spooky and abnormal because the top or bottom of the image has been stretched in to emulate a truly vertical image.The added value off the tilt shift lenses is that it gives you the opportunity to photograph a vertically true lower shot and then shift up on the room to shoot an upper version of the room and then photomerge them together in Photoshop to render an image with lots more real estate (no pun intended) – a much larger area than the SLR camera shoots in a single shot. So now an image that comes out of the camera with a native 3 x 2 aspect ratio gets closer to a much taller 1 x 1 aspect ratio. It offers my clients more latitude in cropping the image the way they please, depending on the space requirements of their print layout, or web page.Another consideration for photographing architecture is high dynamic range (HDR) versus using lights to light the room. I use both techniques and often blend the two. HDR makes traveling and shooting much more efficient but it also presents some issues that have to be corrected later. I bracket my shutter speed 5 exposures – 1.5 stops apart – one normal exposure, over 1.5 and over 3 stops and under 1.5 stops and under 3 stops. This is why you have to use a tripod. Exposures climb up to 30 seconds for exterior night time scenes. The faster shutter speeds in this wider bracket renders more detail in the windows after fusing them in Photomatix. My settings in Photomatix are my secret sauce but have found a setting that can render a scene looking very normal rather than with the excessive surreal effects that HDR can often produce, and the yellow and orange cast that are often rendered. I often will photograph a scene with HDR and then go around the room and spotlight areas (especially if they are backlit by a window making the foreground dark) that need an exposure pop and then mask in those areas later in Photoshop, after color correcting both the HDR image and the single exposure images.


