Floral and Scenic Photography for Students – Part 3:
Floral and Scenic Photography for Students -Part 3
All of my Mentees from Westlake High School.
Regarding Floral and Scenic Photography for Students, Some of my male students roll their eyes when I suggest shooting floral, including natural light as well as lighted still life and light painted floral arrangements. However they quickly realized how complicated it can get when we get into lighting and light painting arrangements. Chloe and I hung this orchid cluster from a cross bar and painted it with a flash light over about a 10 second exposure and then we masked in the spot lit areas in Photoshop.

Chloe Orchids Master fine art photography austin
Eleana and I drove to the Austin Botanical Gardens to photograph water lilies in natural light. The sun was just low enough to cast the edge of shadows to give this lily a bit of POP. In photoshop we duplicated the base layer and changed the blend mode to soft light. We duplicated it again and change the blend mode to multiply. Then we selected the flower, reversed the selection and masked in a water and lily pad background from a different shot.

Elena’s Lily master floral photography in natural light

AFTER EDITING Elena’s Lily master floral photography in natural light
The reason I like roses and orchids so much is because the petals are translucent, so they let light through them. This make them prime candidates for back lighting. This rose that Morgan and I photographed, is a great example. There is no front light. It was lit only from behind. You can see the flashlight Morgan was holding behind the rose in the first shot.

Morgan back lighting orange rose floral photography Austin

After editing Morgan back lighting orange rose floral photography Austin
I introduce my students to the different rules of composition early on. In this Gerber Daisey photograph, we used one single flash with a soft box on the right. Morgan did a great job of cropping the images so that the flowers fell perfectly into the 45 degree rule.

Gerber daisy one light cropped to 45 degree rule of composition
Nolan and I also photographed some blue orchids. This image is a combination of 3 different front spot lighted areas and two backlit areas. He did a great job of honoring the rule of thirds when he did his final crop.

Blue Orchid spot lighting for floral portrait

Blue Orchid spot lighting for floral portrait

Blue Orchid spot lighting for floral portrait

Blue Orchid spot lighting for floral portrait

After Editing Blue Orchid spot lighting for floral portrait
And one more Orchid arrangement with Krishan. He also did front and back lighting and masked in spot lit areas to create his master image.

Purple Orchids by Krishan for masking

Purple Orchids by Krishan for masking

Purple Orchids by Krishan for masking

Purple orchid final after editing
Nolan and I attempted to emulate the still life floral style of Paulette Tavormina. I shopped at Central Market for the props, and my wife Samantha Stevens carved out some time from her Austin based job coaching day and built this gorgeous arrangement. Actually there is very little editing in this final image, just a couple of spot lit area on the right that the key light on the left could not reach.

Samantha Stevens building still life Floral arrangement for photograph

Floral still life photograph after editing
One of my favorite locations for introducing my students to landscape and scenic photography is the Pennybacker Bridge over Lake Austin. It is iconic, and the students always have something special to print up and take home with them. With Elena and Jake, the lesson involved learning how to evaluate a panoramic scene, leveling the camera to shoot 5 or 6 bracketed exposures and overlaping each shot so that Photoshop would be able to merge them all together into one scene. Here is what they came up with. Elena was delighted when friend of mine offered to pay her $100 for a 30 inch print of her panorama.

Elena’s panoramic scene of the Pennybacker Bridge in Austin Texas Floral and Scenic Photography

Jake’s panoramic scene of the Pennybacker Bridge in Austin Texas Floral and Scenic Photography
Morgan and I photographed a City-scape of Austin. You can tell that this was a few years ago – 2014 to be precise because the Frost Bank Building is featured and visible. Today, it is hard to find an angle where you can see any of that building.

Frost Bank building Austin cityscape circa 2014 Floral and Scenic Photography
Part 1: Abstract Photography for Students, All of my Mentees from Westlake High School
- At April 02, 2020
- By Johnny Stevens
- In Aerial photography, architecutral, austin architectural photographer, Austin photographer, camera control, commercial photography, dichotomy, Drone photography, editing, Fine Art, lifestyle photography, light painting, lighting, Photography education, Photography Mentor, portrait, portrait photography, professional, real estate, real estate photography, shutter speed, speedlights, spot lighting, student housing, student lifestyle, Tilt shift, tilt-shift lens, video, videography
 0
0
Part 1: Abstract Photography for Students
All of my Mentees from Westlake High School.
Abstract Photography for Students is a challenge. I thought it was time to assemble all of the educational photographic projects I have done with my senior students of the Independent Study Program at Westlake High School over the last 8 years. I was surprised when I went back into my photography archives to see some of the projects that I have forgotten about. I am doing this in 5 Posts so the reader does not get overwhelmed. This first post is about our Abstract Photography exercises. So here we go.
When I agree to teach a student, I tell them that my approach to teaching is to expose them to as many different genres of photography as possible, so they can learn how to leverage the settings on their cameras, read natural light, learn how to control flash and strobe light, how to work with humans who hate to have their photos taken, and evaluate the environment for challenges.
The photography genres I like to introduce them to are:
- Abstract Photography
- Portrait Photography
- Still Life and Landscape Photography
- Architectural Photography
ABSTRACT PHOTOGRAPHY:
My first student 8 years ago was Elena. With her I learned how difficult shooting rising smoke is. We learned that having a flash at 90 degrees to a smoking piece of incense was better than having two flashes, one in each side. The contrast within the smoke was better and made it easier to identify an interesting moment within the otherwise chaotic billowing smoke. Then we edit the image mostly by eliminating surrounding smoke that did not lend itself to the formation we identified. More often that not (and this goes for painting too) we tend to identify with abstract formations that remind of some variation of human forms. Here are Elena’s images:
I had forgotten about this image, and today it is one of my favorite. It is whimsical and requires some time to process its intricacies.

Elena’s Abstract Smoke by Austin fine art photographer Johnny Stevens
This one I called Wisp of Elena. It clearly has some alien life forms that attract the eye….

Elena’s Abstract Smoke #2 Alien formation by Austin abstract photographer Johnny Stevens
My mentee Nolan shot this smoke image. Very often the way smoke rises and curls, it tends to show formations of vertebrae and human bones.

Nolan smoke abstract photography austin
And this one from my mentee Morgan;

Morgan abstract smoke photography by Austin photographer Johnny Stevens
For Jake’s Abstract Smoke Photography exercise, he created 2 edited versions from this first raw file.

Jake’s original raw file of smoke rising

Final edit of abstract smoke rising photograph

Final edit 2 of abstract smoke rising photograph
My mentee Krishan and I tested our reflexes at shooting water drops in a glass.

Krishan’s composition of 4 drops of water
After an hour of gruelling timing to pull the trigger at the right time we learned that we could not get the effect we were looking for which is achieved by buying a Pluto Valve Drop Regulator. It releases drops timed exactly with the shutter of the camera, but more importantly it releases 2 consecutive drops so that the upward splash of the first drop smashes into the one coming down and creates a beautiful mushroom effect. As seen in these two examples:

water drop 1 by fstoppers

waterdrop 2 by 500 px blog
To introduce my students to compositing in Photoshop, I will often give them the task of taking a series of images and composite parts of them into a master image. In this case I gave Nolan these images from my Mannequin folder of images to create a composite:

Mannequin for abstract photoshop compositing lesson Johnny Stevens Austin Photographer


Final composite by Nolan
Light Painting an Orchid
Light Painting an Orchid.
For his lesson today, Nolan who I mentor in the independent studies program at Westlake High School, we light painted this orchid. We lit the plant with a small led flashlight and looked at each image on my ipad by using the Cam Ranger system plugged into the Canon 5d Mark 3 camera. We ended up with 10 different images of varying lighting on the orchid that we layered and masked together to create this final image. We back lit the flowers and front lit the flower buds. The back lighting helped pop out the dramatic edges of the flower petals.

Light Painting an Orchid by Nolan and Johnny
These are some of the light painted images that we blended together to make the final Orchid image.

Light Painting an Orchid


More before and after light painting images
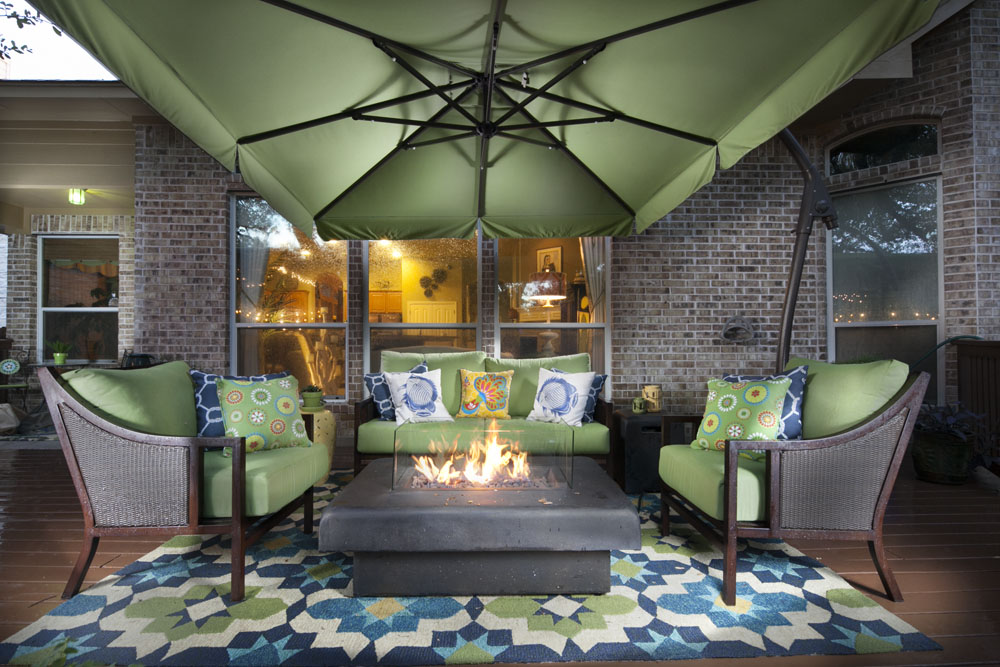
Before and after light painting. I went back to look for some good examples of images that I shot with light painting to use on my updated website slider on my architectural photography page on my site and discovered these that I had forgotten about. Here are more before and after light painting images. This first one is one of my first spot lighting jobs. I popped a Canon 600 ex rt flash with and dome diffuser up into each of the 4 corners of the umbrella, and onto each piece of furniture at different angles and painted those flashes in to this base photo.

Porch before lighting commercial advertising photographer austin

Porch after spot lighting commercial advertising photographer austin
This image was from a custom home Premier Partners in Lakeway, Texas. I used the 600 flash again and popped the light with an umbrella onto the right side of the bar and one from underneath the bar and behind it so I would light the ceiling.

Bar before light painting Architectural and Interior Design Photography Austin Texas

Bart after light painting Architectural and Interior Design Photography Austin TexasTexas
This image was at Riverplace Country Club in Austin. The wood / rattan furniture certainly gained some interest by popping light from multiple angles.

Riverplace Country club lobby before light painting

Riverplace Country club lobby after light painting
Same with the dining room at Riverplace. I had to replace the view out the windows with a perfectly exposed version.

Riverplace dining room before light painting Architectural and Interior Design Photography Austin TexasTexas

Riverplace Country club lobby after light painting Architectural and Interior Design Photography Austin Texas
In The News
- At May 23, 2015
- By Johnny Stevens
- In abstract, Aerial photography, aerial video, architectural photos, areial video, art for sale, austin architectural photographer, Austin photographer, canvas prints for sale, Drone photography, Drone Video, Fine Art, HDR, hot rods, landscape, light painting, Photography, Photoshop, portrait, portrait photography, professional, protrait, real estate photography, rust rapture
 0
0
Johnny’s work has recently been featured in the following publications. Click on any image to view each article!

Clients
- At February 09, 2015
- By Johnny Stevens
- In aerial, aerial video, american campus, architectural photos, art for sale, austin architectural photographer, Austin photographer, canvas prints for sale, Drone photography, Drone Video, Fine Art, headshots, landscape, light painting, Photography, Photoshop, portrait, protrait, real estate, real estate photography, rust rapture
 0
0
BizFilm Media, LLC
Johnny Carino’s Italian Restaurants
Mason Health Care
Oxford Commercial Real Estate
Paul Mitchell Systems
Pauly Realty
Premier Partners Homes
Regsiter Dixon Homes
Riverplace Country Club
The Natasha Group Keller Williams
The Roby Institute
Threshold Agency
Wayport
Will Mokry Designs
World Class Capital Group
Todd Associates
Photography
- At July 22, 2014
- By Johnny Stevens
- In Aerial photography, aerial video, austin architectural photographer, Austin photographer, beautiful, composite portraiture, family, Floral, headshots, lifestyle photography, light painting, Photography, portrait photography, professional, student housing, student lifestyle
 0
0
Professional Photography in Austin
As one of the best photographers in Austin, and certainly the easiest to work with, Johnny Stevens has a versatile portfolio of photography that can be seen below. Browse through the architectural photography, aerial drone photography, portrait photography, fine art photography, and scenic photography galleries below, or use the above menu.
Architectural
- At July 22, 2014
- By Johnny Stevens
- In Aerial photography, american campus, architectural photos, architecutral, austin architectural photographer, Austin photographer, commercial photography, drone, Drone photography, Drone Video, HDR, hotel, light painting, Photography, professional, real estate, real estate photography, Tilt shift, tilt-shift lens
 0
0

U Pointe on Speight Student housing architectural exterior real estate photograph
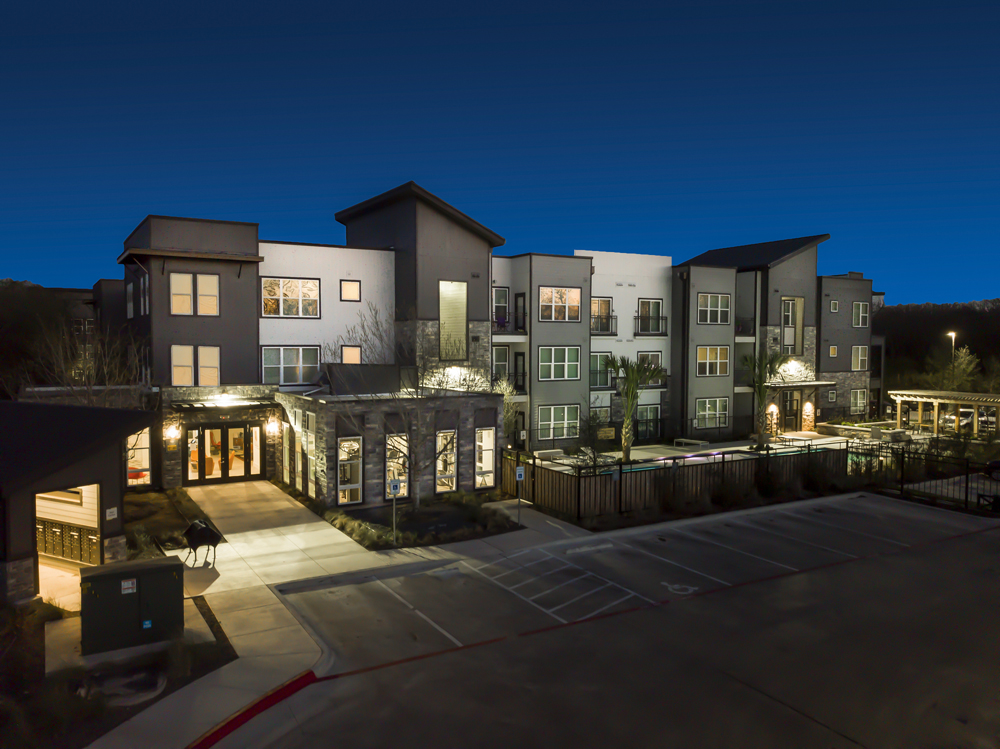
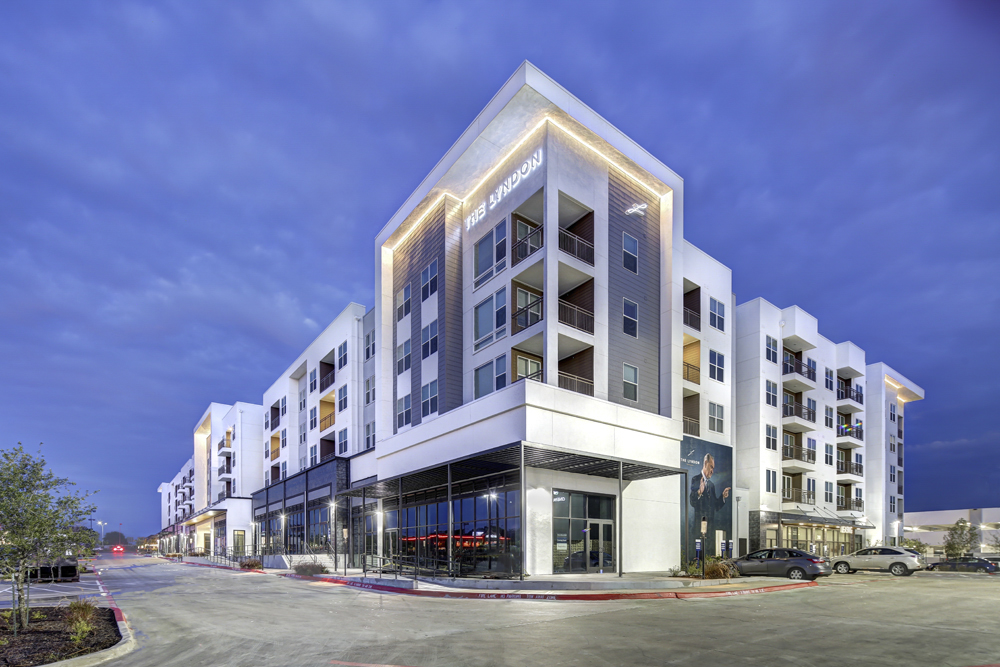
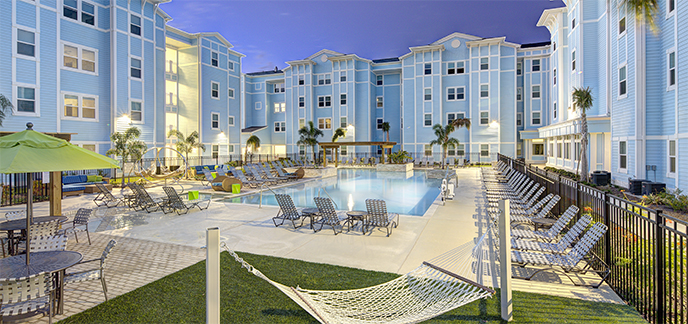
Johnny’s expertise in light painting, spot lighting, blending techniques, and special tilt shift camera lenses allow him to reveal the inherent beauty and detail of a space or building. Johnny’s student housing and commercial architectural work, with companies like American Campus Communities, The Michaels Organization, and Landmark Properties take him across country to capture images that are displayed on the pages of dozens of premier student housing and commercial real estate sites.
Post Processing


From the Photographer: Architectural Photographer in Austin, Johnny StevensThere are as many way to photograph architecture as there are to shoot portraiture. Choices in photographing architecture or real estate include adding light to the scene or just shooting in natural light. Should I add models and actors or photograph without? Shall I shoot with a normal lens or photograph with wide angle lenses? Must I pay the price for tilt shift lenses or not? Must I photograph on a tripod or make the mistake of not doing so. What kind of camera do I need? What resolution images should I shoot? Raw images or jpeg? Do I need to balance the color in the room with filtered lighting or do color correction later in Photoshop? Do I need to hire a set designer or move things around myself?One of the key considerations for my architectural work is composition and perspective and that is why I use tilt shift lenses. These are referred to sometimes as perspective shift lenses. Not only do they let you tilt the lens to create selective focus – or a sense of shallow depth of field (used for miniaturization photography) they also allow you to shift the lens up and down on a vertical plane that honors the vertical walls of the building, house or room you are shooting. It is not uncommon for photographers to forego the expense of these tilt shift lenses and shoot with a 14mm to 28 mm lens for wide shots, and then fix the perspective or the convergence of parallel lines (the walls) in Photoshop later by transforming the image, but there is a critical point at which Photoshop transformed rooms or building begin to look spooky and abnormal because the top or bottom of the image has been stretched in to emulate a truly vertical image.The added value off the tilt shift lenses is that it gives you the opportunity to photograph a vertically true lower shot and then shift up on the room to shoot an upper version of the room and then photomerge them together in Photoshop to render an image with lots more real estate (no pun intended) – a much larger area than the SLR camera shoots in a single shot. So now an image that comes out of the camera with a native 3 x 2 aspect ratio gets closer to a much taller 1 x 1 aspect ratio. It offers my clients more latitude in cropping the image the way they please, depending on the space requirements of their print layout, or web page.Another consideration for photographing architecture is high dynamic range (HDR) versus using lights to light the room. I use both techniques and often blend the two. HDR makes traveling and shooting much more efficient but it also presents some issues that have to be corrected later. I bracket my shutter speed 5 exposures – 1.5 stops apart – one normal exposure, over 1.5 and over 3 stops and under 1.5 stops and under 3 stops. This is why you have to use a tripod. Exposures climb up to 30 seconds for exterior night time scenes. The faster shutter speeds in this wider bracket renders more detail in the windows after fusing them in Photomatix. My settings in Photomatix are my secret sauce but have found a setting that can render a scene looking very normal rather than with the excessive surreal effects that HDR can often produce, and the yellow and orange cast that are often rendered. I often will photograph a scene with HDR and then go around the room and spotlight areas (especially if they are backlit by a window making the foreground dark) that need an exposure pop and then mask in those areas later in Photoshop, after color correcting both the HDR image and the single exposure images.
Blog
- At August 06, 2012
- By Johnny Stevens
- In aerial, Aerial photography, aerial video, american campus, architectural photos, areial video, austin architectural photographer, Austin photographer, beautiful, drone, Drone photography, Drone Video, family, Fine Art, headshots, hot rods, landscape, lifestyle photography, light painting, Photography, Photoshop, portrait photography, professional, protrait, real estate, real estate photography, rust rapture, speedlights, student housing, student lifestyle, travel, video, videography
 0
0
Home
- At August 05, 2012
- By Johnny Stevens
- In Aerial photography, american campus, architectural photos, architecutral, austin architectural photographer, Austin photographer, commercial photography, drone, Drone photography, headshots, light painting, Photography, Photoshop, professional, real estate, real estate photography, rust rapture, scenic, spot lighting, student housing, student housing photographer austin tx, student lifestyle, travel, videography
 0
0


